We hope you enjoyed the tutorial, below are the key points to use as reference when plating on plastic.
Step 1 – Covering the plastic item in conductive paint
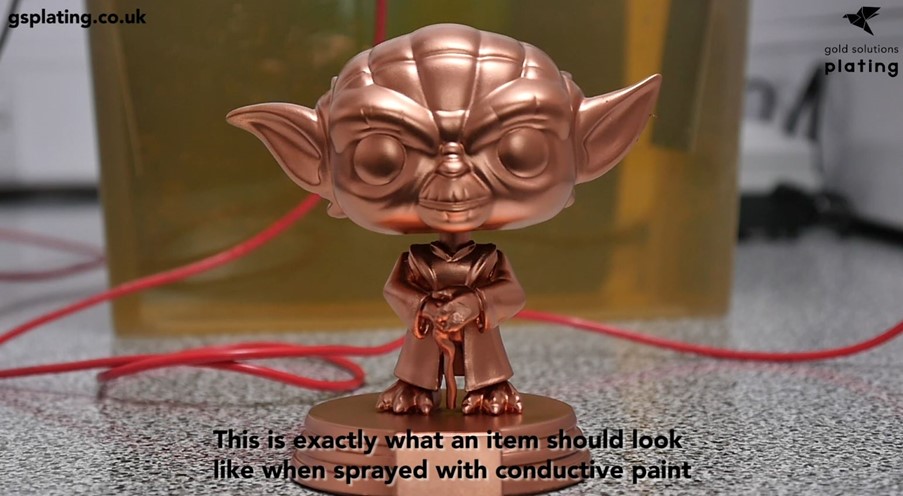
Once you are wearing the correct PPE, have worked out the surface area of your item by using an online surface area calculator, and have all of your equipment ready, you are ready to start. Begin by spraying conductive paint at a close distance to the item, so that it goes on nice and smoothly. If you spray from further away, the paint will go on gritty. Don’t worry if details on the item appear to be buried at this stage, all details will return once the paint is dried which takes around 60 minutes.
Step 2 – Rigging the item
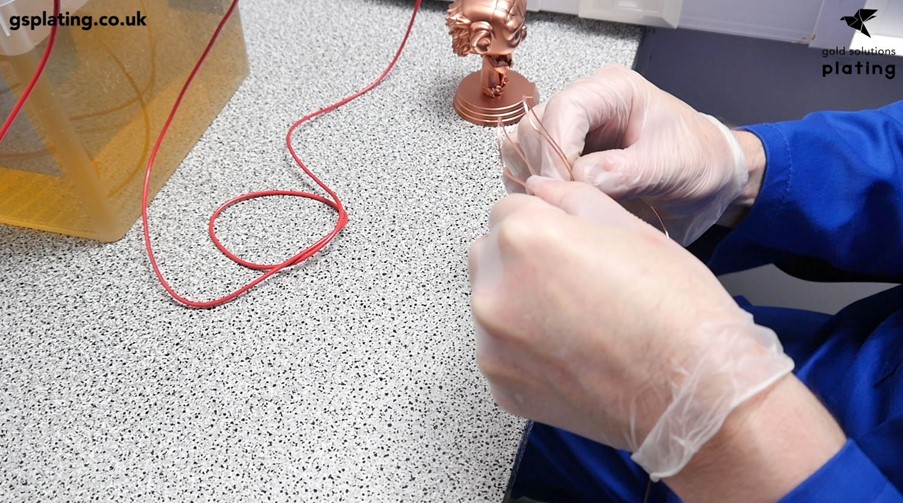
Use wire wool to strip the copper wire of any oxides. Then, form pincers from the copper wire to carefully grip the item at the point where it hangs.
Next, using more copper wire, you need to create an outline of the item which we call a ‘robber wire’ as this wire will ‘rob’ excess current from small areas and corners that would otherwise burn.
Your ‘robber wire’ should be ideally positioned just a few millimetres away from the item. You need to take special care to ensure that you have a loop of wire orbiting any protruding or sufficiently raised areas. This wire should be connected to the ‘hanging wire’ – twisting it tightly into place should be fine.
Step 3 – Electroforming
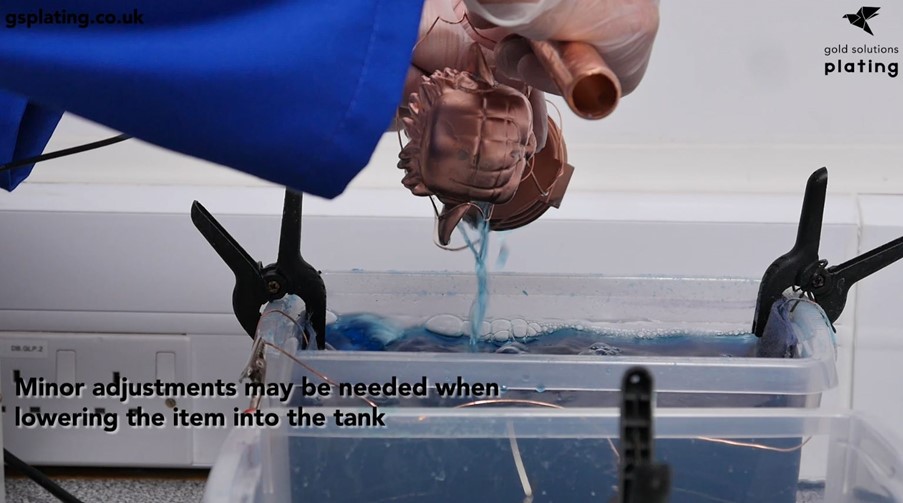
Next, lower the rigged item into the electroforming tank at 0.035 amps per cm2.
You should then leave the item in the tank for a minimum of 3 hours, although 6 hours or more is common. Revisit the tank every 30 minutes, to move the item slightly within the wire that is clamping it. This will break any miniscule bonds that may form and will prevent your wire from fusing to the item during the process. You can also use this time to move any articulated joints that your item might have to allow even coverage and to prevent the joints from fusing in place.
Step 4 – Rinse
Using deionised water and a spray bottle, thoroughly rinse off the entire item. If the item is hollow, be sure to rinse out any trapped solution. Do this as quickly as possible, preferably within 60 seconds, then progress immediately to the next step
Step 5 – Nickel Plating
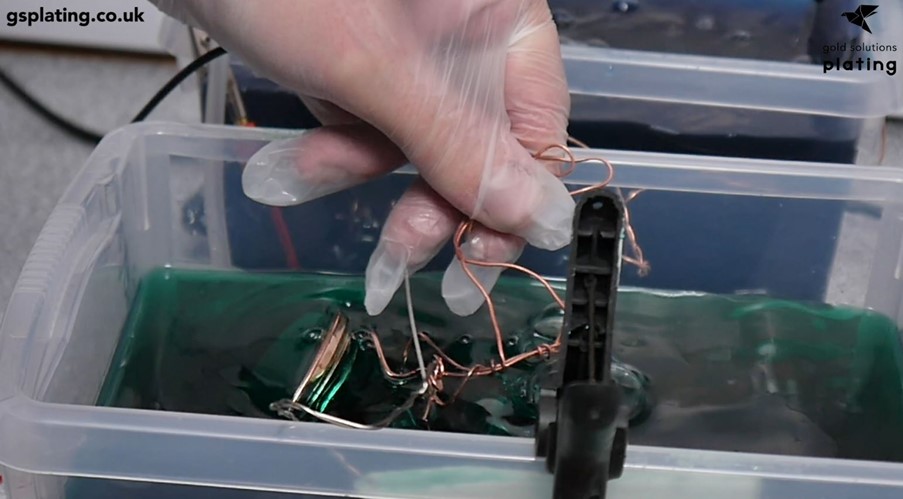
Leaving the item in its rigging, nickel plate at 0.01 amps per cm2. Nickel plate for 5 minutes.
Step 6 – Rinse
Just as before, rinse thoroughly, making sure that there is no trapped liquid. Do this within 60 seconds and move immediately to the next stage.
Top tip: Quite often, plastics have a grainy texture moulded into them that you may want to sand smooth before you start the entire process. Sometimes however, it is desirable to maintain certain textures which give an alternative look to the final finish, the choice is yours!
Step 7 - Gold Plating
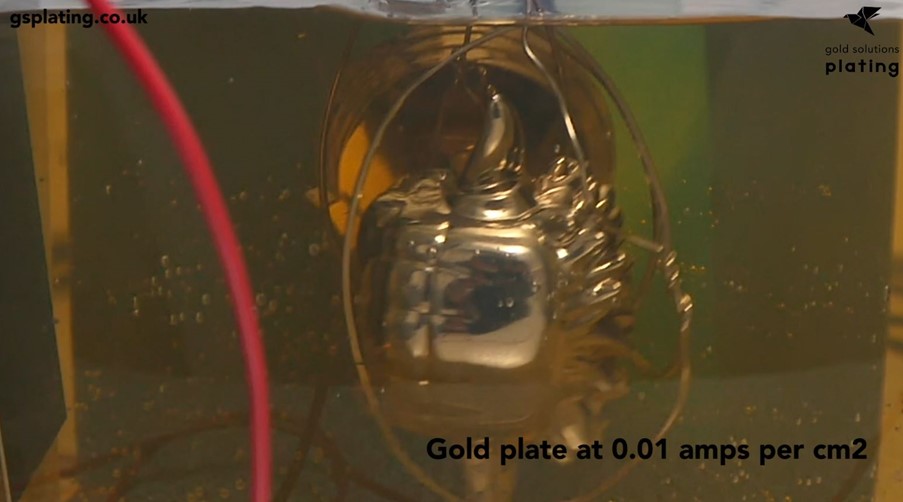
Next, lower the item into the gold tank at 0.01 amps just as before with the nickel. Continuously sway the item gently within the tank and plate for 2 minutes or more depending on your desired thickness.
Step 8 - Rinse
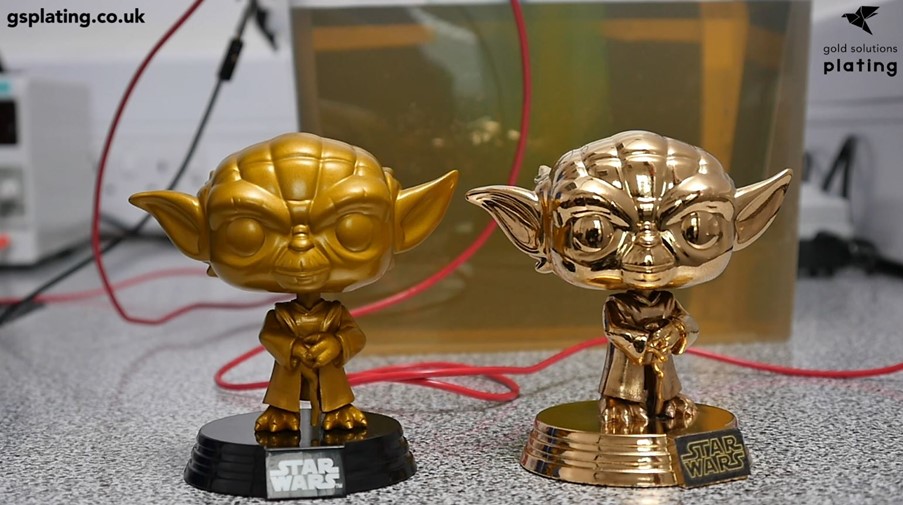
Finally, rinse the item in deionised water. Then, remove all of the wiring carefully and dry the item, you can now handle it directly as the plating process is complete. It is now time to admire your handy-work.
Please remember that although we have discussed electroforming plastic, this process can be used on a multitude of other surfaces. These include ceramics, 3D printed surfaces and with the use of a sealant, fabrics, wood and other organic materials.
Additionally, with the G.S.P Prodigy Range kits, all of the issues surrounding polishing are taken care of and the end results are strong, durable, and thanks to our Mirror-Tech System™, no polishing is required at any stage. Your items will come out of the tank with chrome levels of shine and will have a truly metal feel
More Tutorials
If you would like to learn more about electroplating, take a look at our video: How to Plate Aluminium.
Please get in touch if you have topics you would like to see discussed, as we add to our growing range of How to Guides, plating articles and tutorial videos!
Electroforming Kits
The kit used to electroform in this tutorial is from our G.S.P Prodigy Range.